
With scenes, you can take snapshots of a certain status of your devices in Home Assistant. This allows you to quickly transform your house into a certain status. This is not only possible for your lighting, but for every device in your home. You can even quickly take a snapshot on the fly to jump back to the last state before your devices’ settings changed. In this Home Assistant Tutorial, I show you how scenes in Home Assistant work and how you can use them to the max! Let’s dive right in.
⭐⭐⭐ NOTE: ⭐⭐⭐
This article accompanies a YouTube video. I wrote it for people who would rather read than watch a video. To keep doing this, I would like to ask you to check out the video, leave a comment under the video, give the video a thumbs up, and subscribe to my YouTube channel. This means that the video is offered more often to new visitors so that they also stay informed of the latest Home Assistant tutorials.
Thank you for your support!
Ed
You can download the code used in this video here so that you can just copy and paste it to get it to work.
Scenes are perhaps the most underrated feature in Home Assistant, while they can greatly help you put your home in a certain state and quickly switch between them. There are several ways to deal with scenes.
In this Home Assistant tutorial I will cover the following topics:
- How do I set up a simple scene?
- How can edit a scenes in Home Assistant?
- How can I use scenes in automations?
- Scenes on steroids: How can I quickly create a temporary scene “on the fly” and jump back to this scene after adjusting the statuses of some devices?
How do I set up a simple scene?
You can set up scenes in a few different ways. The easiest way is to create a scene of the current status of your devices. Suppose you have set your room to a color and a certain temperature. When you are very satisfied with that setting and want to save that setting so that you can quickly recall it later.
You do that as follows:
- Go to “Settings”
- Go to “Automations & Scenes”
- Click on “Scenes”
- Click on “Add Scene”
- Name your scene
- Choose an icon
- Choose an Area
- Now add all devices that you want to save in this scene by clicking on Add a device.
- You see that I can add different types of devices. What I can’t add here are my climate entities. You can do that under “Add an entity”.
- Add your climate entity by clicking on “Add an entity”.
You can of course add many more devices and entities, depending on which devices you have in your house.
- Now click on Save
- Click on the back arrow
Adding the Scene to our dashboard in Home Assistant
Now we’re going to add the scene to our dashboard.
First I’m going to add the scene to my dashboard so I can use it quickly.
To do this, go to your dashboard where you want to place your scene.
- Click on the three dots at the top right
- Click “Edit dashboard”
- Click on “Add card”
- Locate the grid card
- Leave the columns at 3
- Put Render cards as squares if you like
- Now search for the button card or mushroom entity card
I use Mushroom cards for my dashboard. If you want to use those too, you can install them via HACS, but you can also use the standard cards.
- At entity, select the scene you just created.
- If necessary, set the layout to Vertical layout
- Click on “Tap Action”
- Select “Toggle”
- Click on “Save”
- Place your grid card in a location you like
- Now click on “Done”
Let’s test it!
We will now first give some lamps a different color in our room and we will also switch off some lamps.
We also give the heating a different temperature.
Here we go! Now click on your scene and BAM, everything is back to the way you set it up!
Changing a scene
We just saw how to create a scene based on the current status of devices.
To edit a scene, go back to the scene you created. By clicking on the icon of the device or entity, you can adjust the properties of the device or entity. Then click on save and your device within the scene is adjusted.
Now your scene has been edited. If I adjust the settings of the devices and then press the scene button again, you will see that all devices get the new settings.
Alright, let’s quickly move on to Automations!
Activating scenes in Home Assistant through automations
Suppose we have two scenes, one that we use when we are working during the day and one that we use when we want to watch a movie at night.
I created two scenes for this.
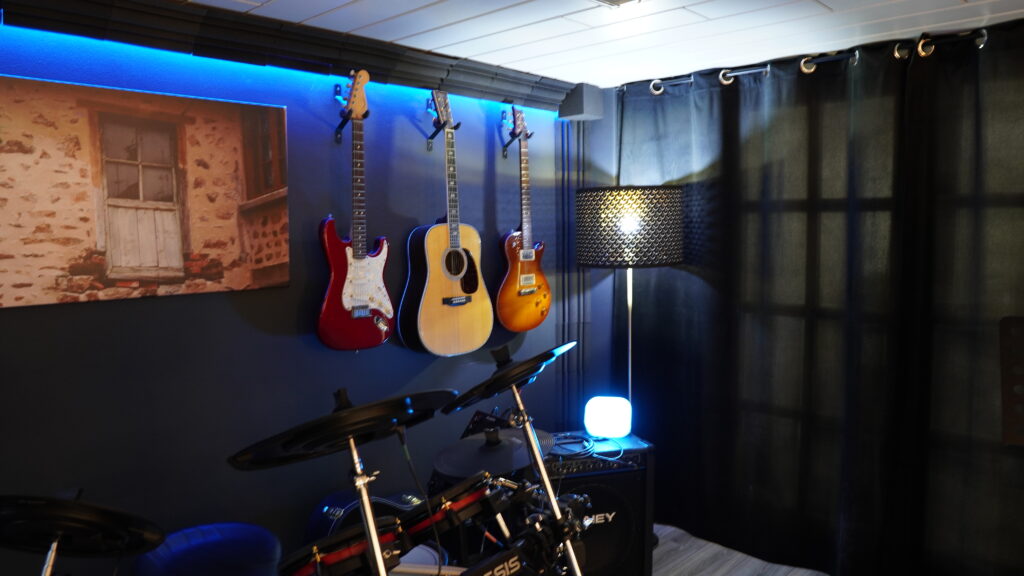
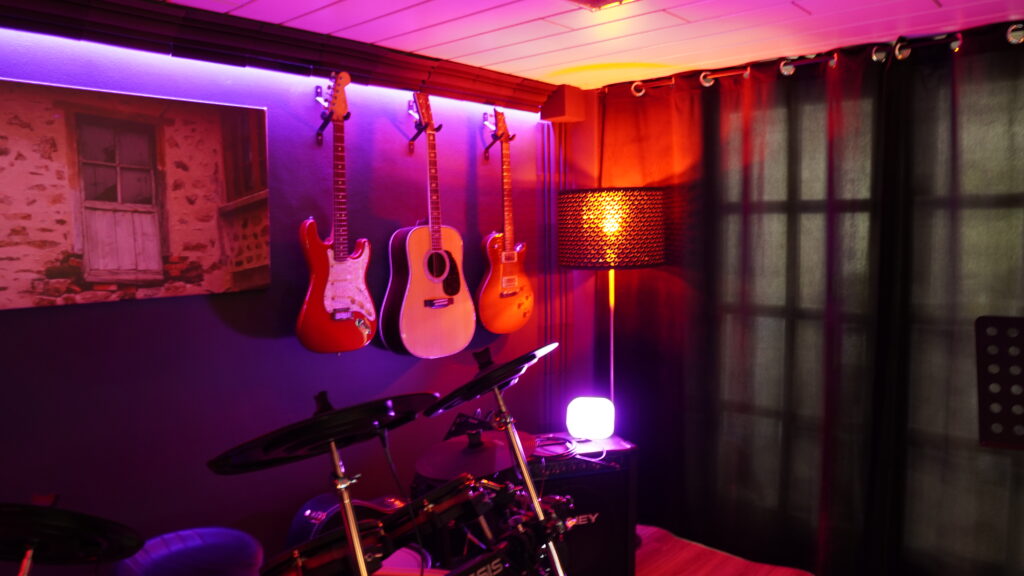
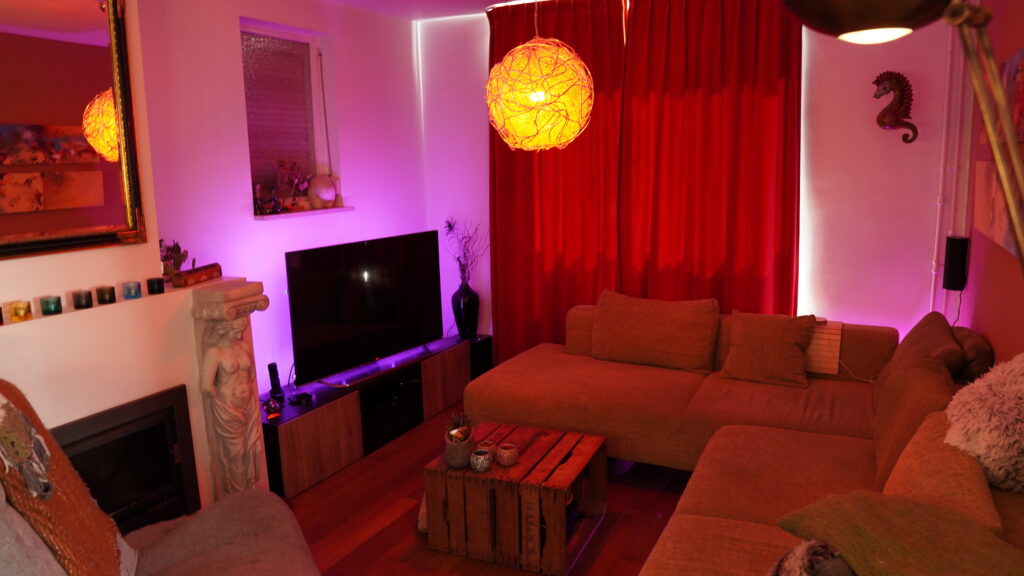
I have a Work Scene that gives off a bluish light and I have a Movie Scene that creates a cozy environment. We are now going to create an automation that switches these two scenes based on the time.

I need your help!
You will be doing me a huge favor if you subscribe to my channel if you haven’t already. And, you will help me a lot if you also give this video a thumbs up and leave a comment. This way, YouTube will present this video to new people, making the channel grow! In the video description, you will also find information about how you can sponsor me so that I can continue to make these tutorials for you.
Thank you!
Let’s set it up!
- Go to Settings
- Go to Automations & Scenes
- Click on “Create Automation”
- Select “Start with an empty automation”
- Give your automation a name
- Leave mode on “Single”.
- Select “Time” at Trigger type
- Set At time to 9:00 AM
- Give your Trigger the Trigger ID “Work”
If you don’t know how Trigger IDs work, check out my video on Trigger IDs. The link can be found in the description below.
- Click on “Add Trigger”
- Choose “Time” again at Trigger Type
12 Set At time to 7:00 PM - This trigger does not require a Trigger ID. You can give it a trigger ID, but we are not going to do anything with that in this automation.
Now go to Actions.
- At “Action type” choose “If Then”
- At If, choose Condition Type “Triggered By”
- Select Trigger “Work”
- Now go to “Then”
- Select by Action Type “Activate Scene”
- Select by Entity “Work Scene”
- Now go to “Else”
- Click on “Add Action”
- Select at Action type “Activate Scene”
- and at Entity select “Movie Scene”
- Click on “Save”
Wow, you’ve now created your automation that turns on the Work scene at 9am and turns on the Movie scene at 7pm.
You can of course make this much smarter by turning on the Movie Scene when you turn on your TV, but I’ll leave that to you. I just want to show here how to switch a scene. The exact trigger will be different for everyone. Let me know in the comments what your use cases for scenes are and which triggers you use. I am very curious!
And now…. tatatatata (Drumroll). Scenes on steroids!
Okay, now you know how to create scenes, edit them and call them from your dashboard and automations, but there’s more! And that’s a really great feature!
We are now going to use scenes on the fly.
Imagine that the devices in your house are set to a certain mode. Some lights are on, some lights are off and the heating is nice and high. Then someone in the house decides to open a window in the evening. At that moment you want the heater to stop heating because the heat then goes outside. You also want the lights to be turned off or dimmed so that you don’t get mosquitoes in the house. When the window is closed again, you want all devices to be set up again as they were before the window was opened. And this is possible! You can take a snapshot of the status of your devices and restore this snapshot later. This is what we are going to do with Scenes on the fly!
Note: such a snapshot does not survive a restart of Home Assistant, so if you restart Home Assistant while the window is open, the devices will not be restored afterward!
Let’s set this up!
- To do this, go to Settings
- Go to Automations & Scenes
- Click Create Automation
- Select “Start with an empty Automation”
- Give your automation a name
- Leave the mode on “Single”
- Go to triggers
- At Trigger type, select “Device”
- At Device, select the door or window sensor you want to use
- Select the trigger that indicates the contact is open.
- Give this trigger the trigger ID “Window Opened”
- Now click on “Add Trigger”
- Select the same door or window sensor at Device
- Select the trigger that indicates the contact is closed
- You don’t need to create a trigger ID here.
Go to Actions now
- Select Action type for “If Then”
- Select at “If” as Condition type “Triggered by”
- Select at “Trigger” for “Window Opened”
- Now go to “Then”
We will now first take a snapshot of all devices that we want to restore when the window is closed again.
- Select “Call Service” at Action type
- At Service, choose “Scene: Create”
- Give this “snapshot” scene an id. For example: “before”
- Now indicate in a list for which devices the status should be saved in this scene. Make sure you put a dash before each entity. In my case, I enter the heating and a light group here.
- Now click on Add Action
- We are now going to adjust the temperature of our heating
- Choose “Call service” at the Action type
- At Service I select “Climate: Set temperature”
- Select your heating entity
- and I set the target temperature to “10”
- Now click on Add Action again
- Select “Call service” at the Action type.
- Select the service “Light: Turn on”
You can also turn off the light here, of course, but for this tutorial, I change the light to a different color. That looks a bit nicer in the video. 😉
- Select the entity. In my case, that’s Office Back.
- Choose a color at “Color Name”
- now go to “Else”
Restore the status of the devices
Now we are going to set up that all devices are put back to their old position when the window is closed.
- Choose “Call service” at the Action type.
- Choose “Scene: Activate” at Service
- Click on Targets on Choose entity
- Now type in the name of the scene that you have temporarily created. In our case, that’s “scene.before”. It won’t be recognized, but you can just press “Enter” afterward.
- Now click on “Save”
Let’s test this!
There we go then. Let’s test this! Ooh, how exciting!
I open the dashboard with my devices to see if it works.
Here I have the door/window sensor that I just made the automation for. Here we go. I now open the window and you see the lights change color and the heating is set to a different temperature.
And then I close the window again. 1-2-3….
And BAMMM, the lights are restored to their old values and the heating is back on!
Please note, in the case of a heater, it may respond a bit more slowly. I have a Honeywell Evohome and it is slow to respond because it only syncs the heating values with the cloud every 3 minutes.
You can download the code used in this video here so that you can just copy and paste it to get it to work.
Okay, if you’ve made it this far in the video, you’ve now become an expert on scenes in Home Assistant. Super! Let me know in the comments if you made it this far!
I hope this video helped you and I want to thank everyone who has supported me in making these videos and tutorials so far. I could never have done this without you. Thank you! If you also want to support me, you can see how you can do that in the description below this video. With that, you make it possible that I can continue to make these videos for you.
Oh, don’t forget to give this video a thumbs up, subscribe to my channel, and hit the notification bell.
I will see you soon!
Bye bye!